Project Microcontroller Desk Clock
I wanted to make a project using a microcontroller that included designing the circuits and having a circuit board fabricated.
- EagleCAD
- Atmel 89C2051 microcontroller
- 7 digit LED displays
The project could be a basis for creating other similar projects using the Atmel micro-controllers. One simple variation would be to use nixie tubes that have become popular to make a display for the same clock. I was able to breadboard a circuit with some nixie tubes previously.
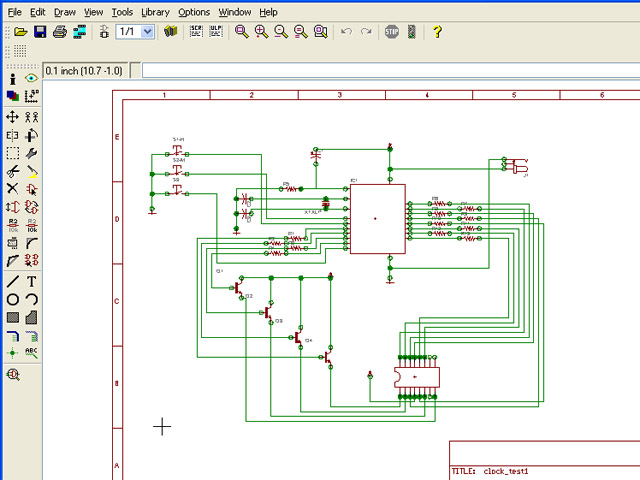
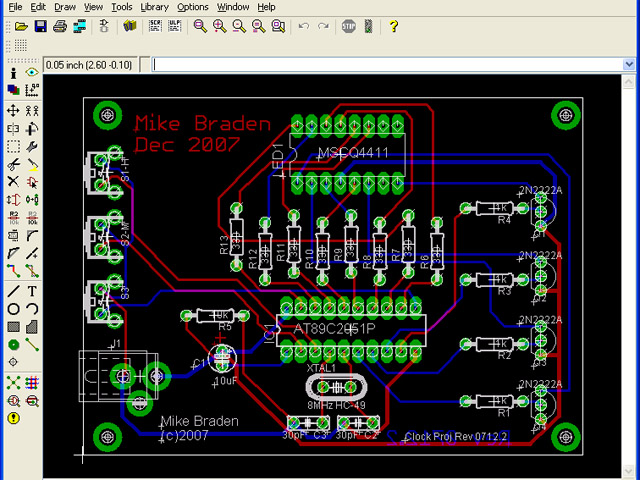
I started by building a breadboard version of the circuit to work out the details and a possible layout. Then created a schematic in EagleCAD that was used to generate a routing and layout a board.
I had to measure and create a few pad configurations to handle the switches. I tested printing a side of the board on paper to make sure things looked OK.
Schematic in EagleCAD
Board layout view in EagleCAD
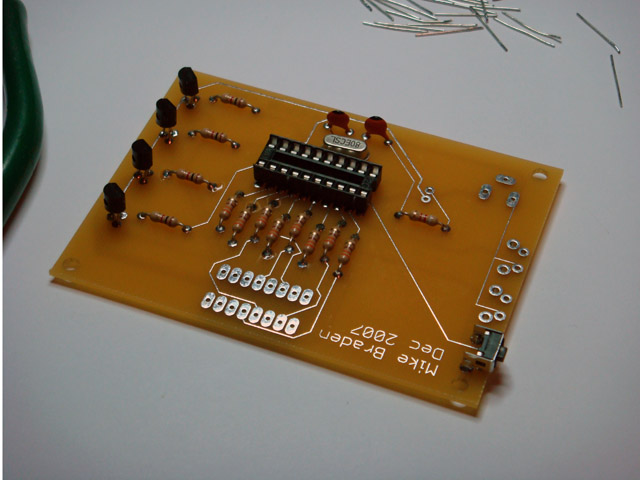
From that I was able to generate the files needed by Sunstone Circuits to send to Sunstone’s PCBExpress service to make a few sample boards. After I received the boards I took all the components that I ordered from Mouser and assembled the first board.
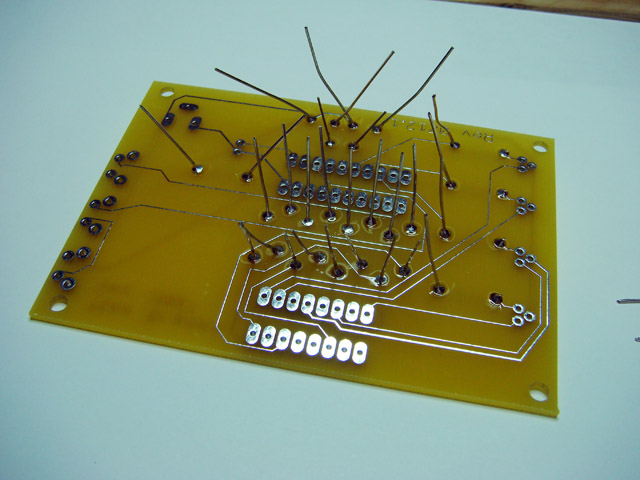
With all the parts mounted and the leads trimmed I thought it looked really good.
I had already created a few different programs with the Atmel 89C2051 microcontroller. I like this chip a lot considering the form factor and ease of use for a hobbiest. I have been writing the firmware in C and compiling it with the Small Device C Compiler, SDCC. Then taking the Intel hex format output file (.ihx) and using that with my Xeltec SuperPro 280 programmer.
After connecting everything up I powered it on to see if it came up OK.
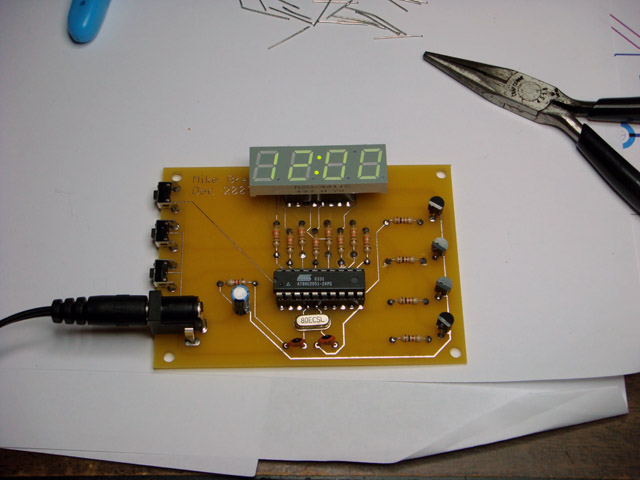
Then I set the time and compared it with my computer to make sure it was working correctly.
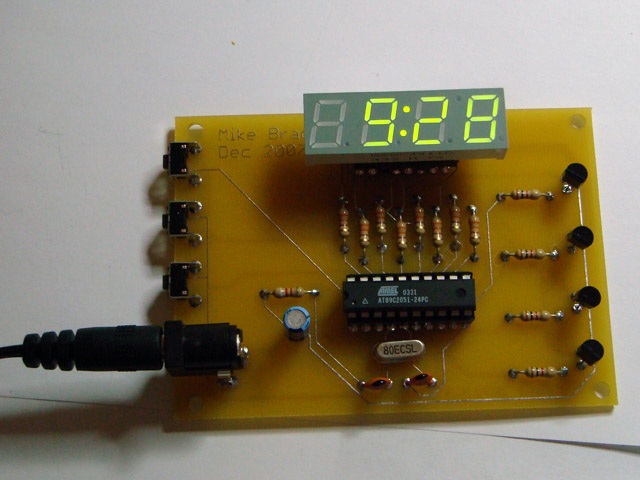
Overall it has been a fun project. I have made a few variations of the clock and plan to make some new PCBs. The next version will use a more accurate time source with a real time clock.
I created a small wood case for it with a plastic cover to expose the electronics inside.