Weather Data Collection Node for a Home Weather Station
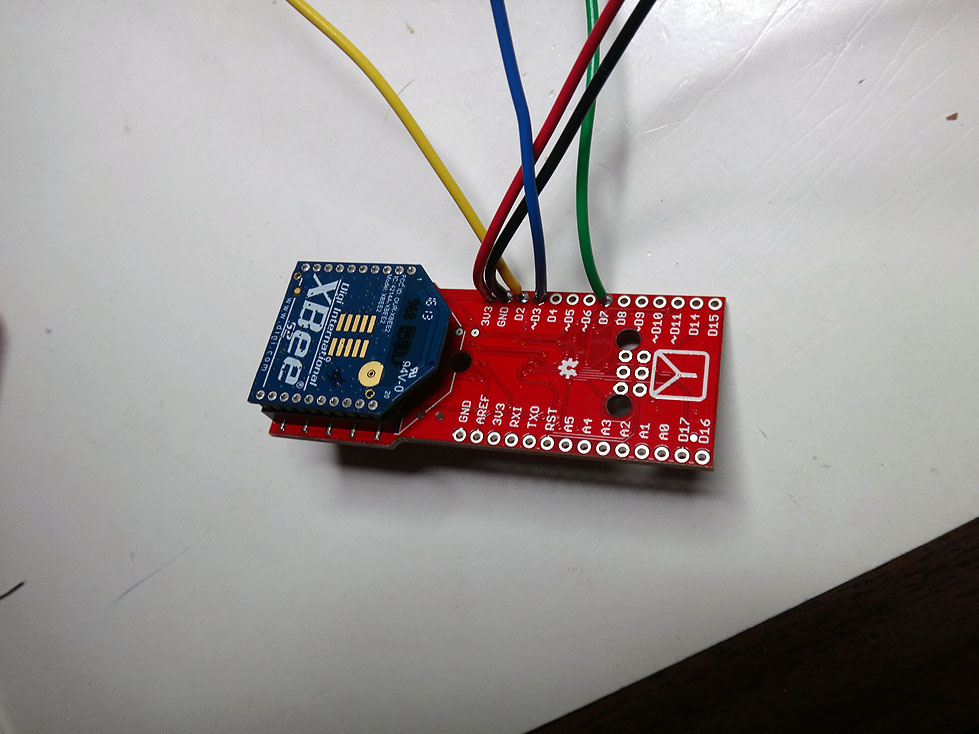
After replacing yet another outdoor temperature system, I decided it would make a good project to build my own. I researched a few options and decided to use an Arduino FIO with an XBee radio module.
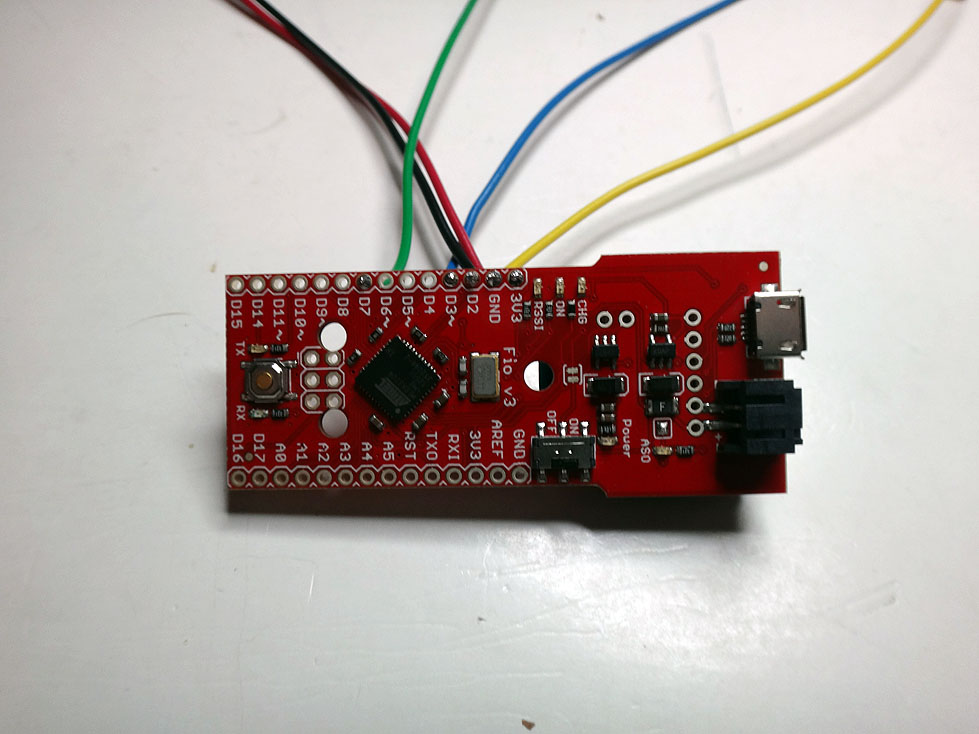
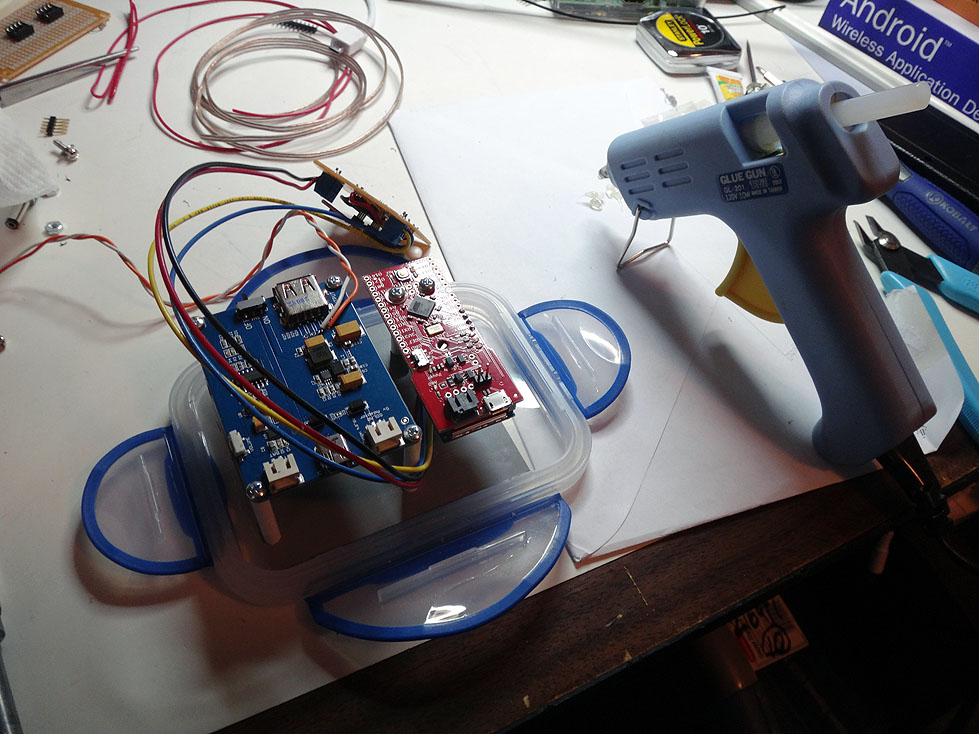
I used a Sparkfun FIO v3. I decided I really like these little modules for use with XBee radios. They are the perfect size and configuration to build small wireless radio control or collection devices.
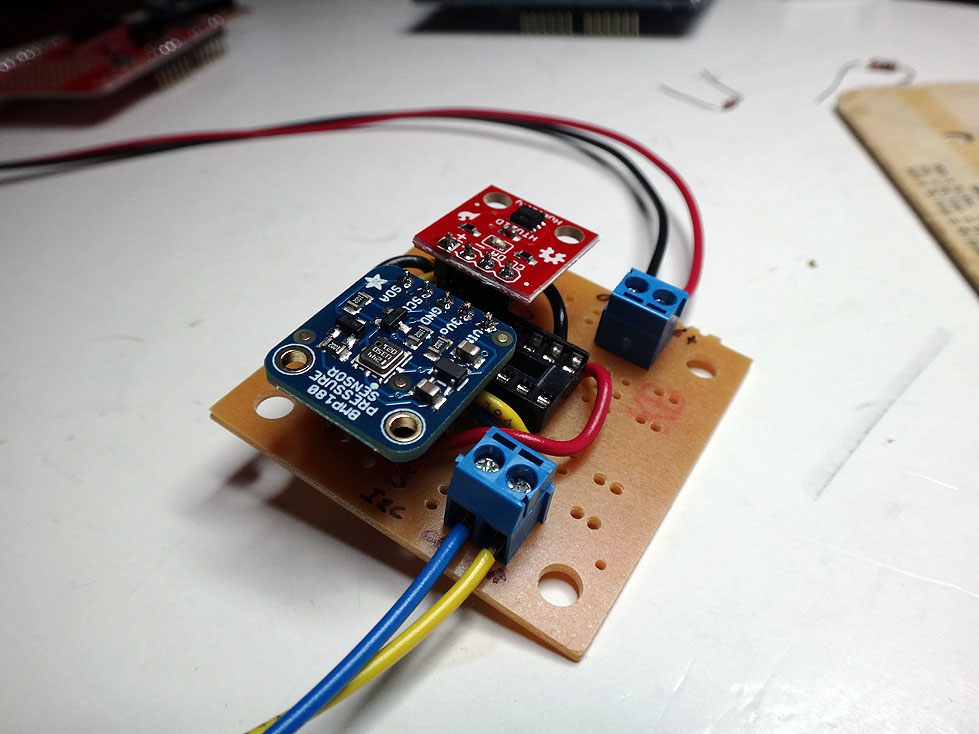
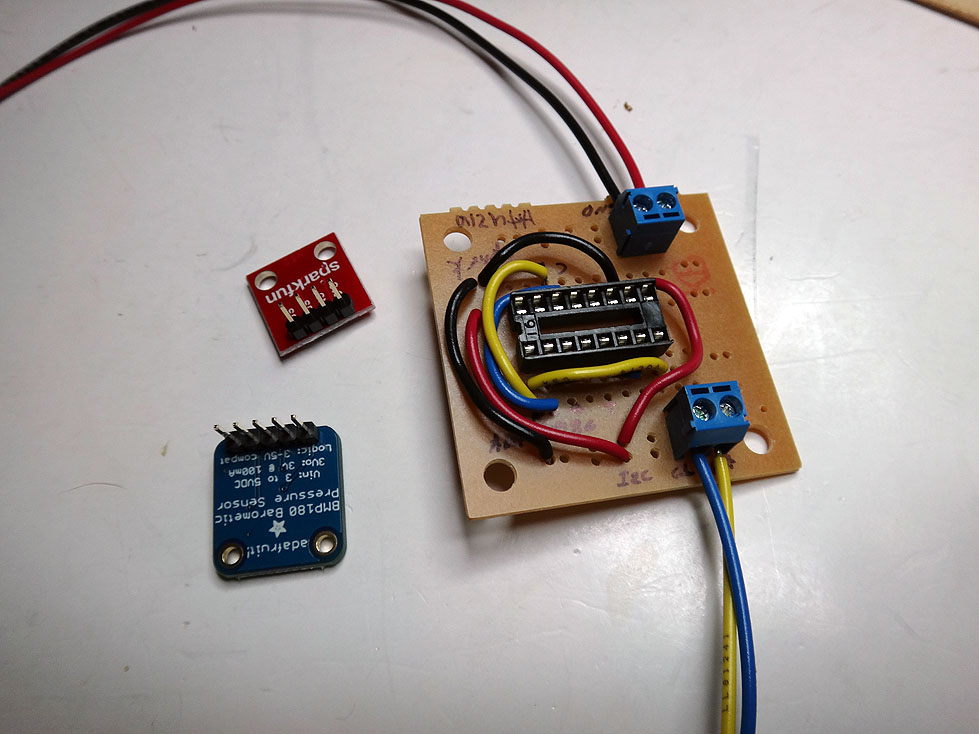
For sensors, I am using a Bosch BMP180 I2C barometric pressure sensor breakout board from Adafruit and a Sparkfun breakout for the HTU21D Temperature and Humidity sensor.
I mounted the sensor breakout boards on an old Radio Shack circuit board in a DIP socket so they can be replaced if needed. I used screw terminals for the wires which I just soldered directly to the FIO board.
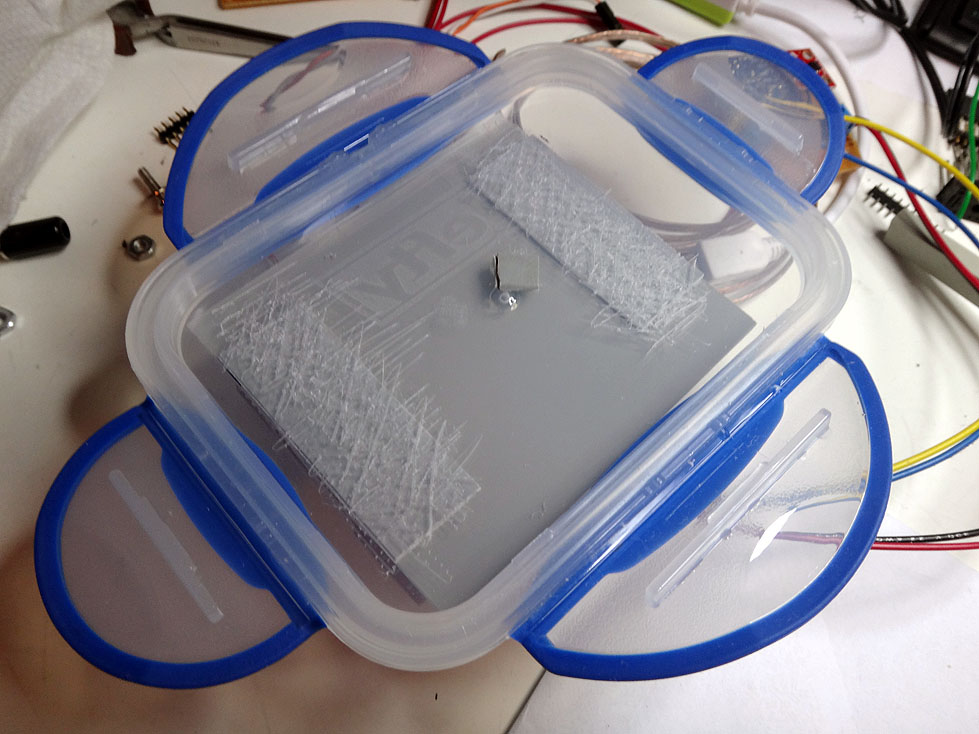
The plan was to mount this sensor node outside. So I wanted a waterproof case. I decided to use a sealed food container that I bought at the grocery store. It was about the right size for all the parts and had a rubber seal. A plastic case would be best for the XBee radio. But I found it wasn’t very easy to attach anything to the case with glue. After some experimenting I found that if I scuffed up the case that one type of hot glue would hold OK. So I glued in a ABS plastic panel to mount the electronics to.
For standoffs I cut an ABS plastic tube with a plumbing style pipe cutter and glued them to the plastic base. Then used screws to mount the circuit boards.
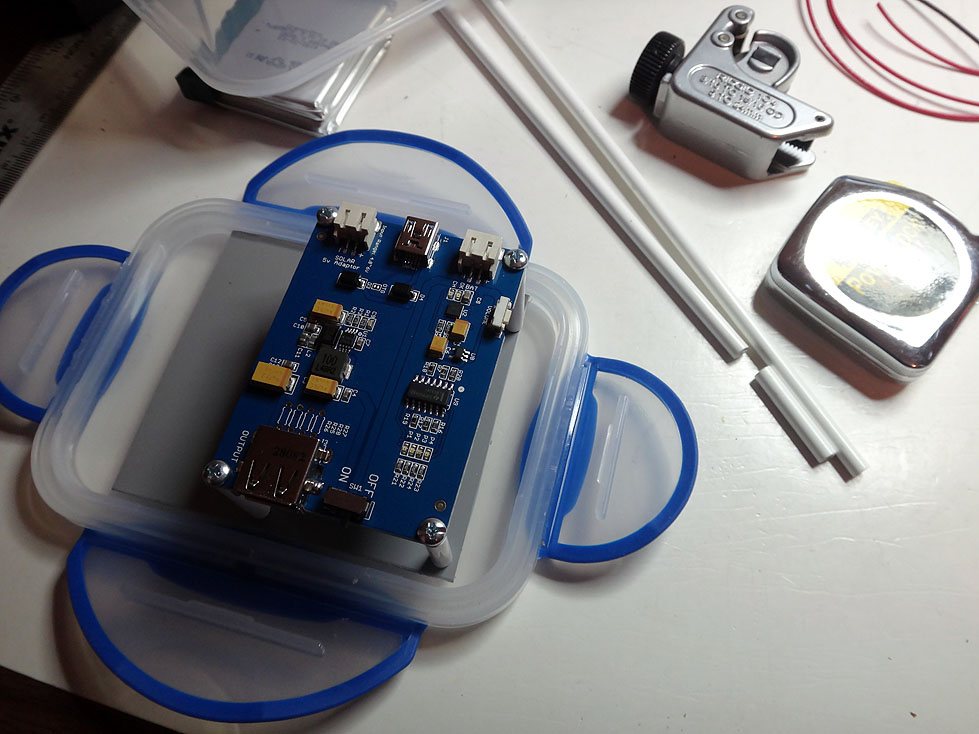
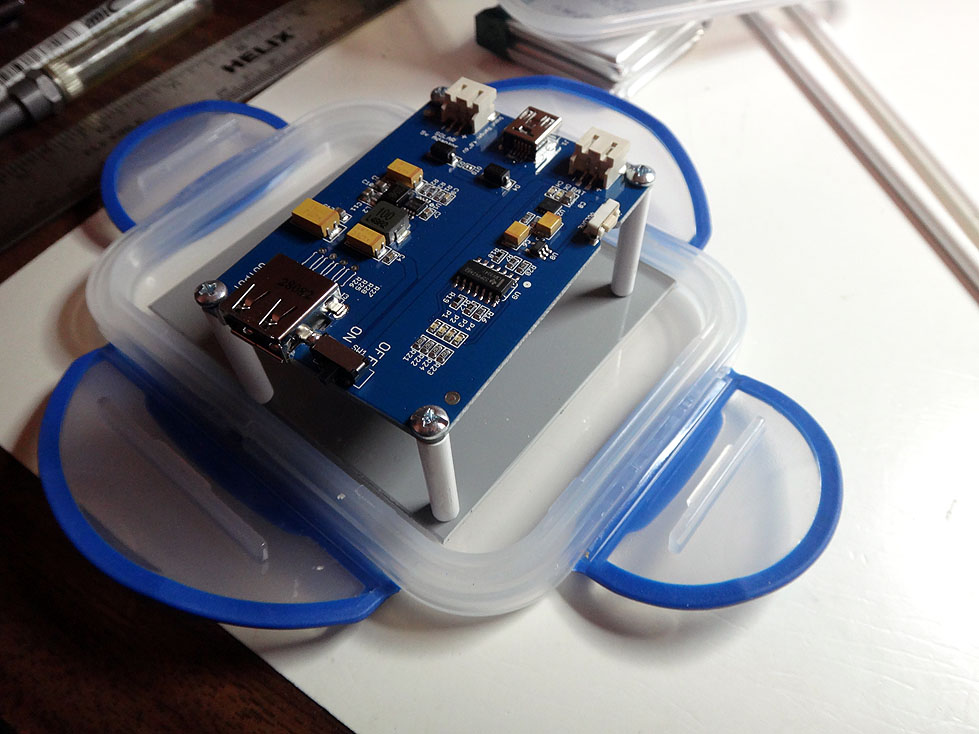
The first board is the solar LiPo charger board. I used a Seeed studio LiPo Rider Pro that works really well. It allows charging from a solar panel or from USB. It has a charge indicator and LEDs to show when the battery is charged. It is also about the same size as the battery so I placed the battery underneath in the case.
This is the case with the area scuffed to glue the plastic mounting board.
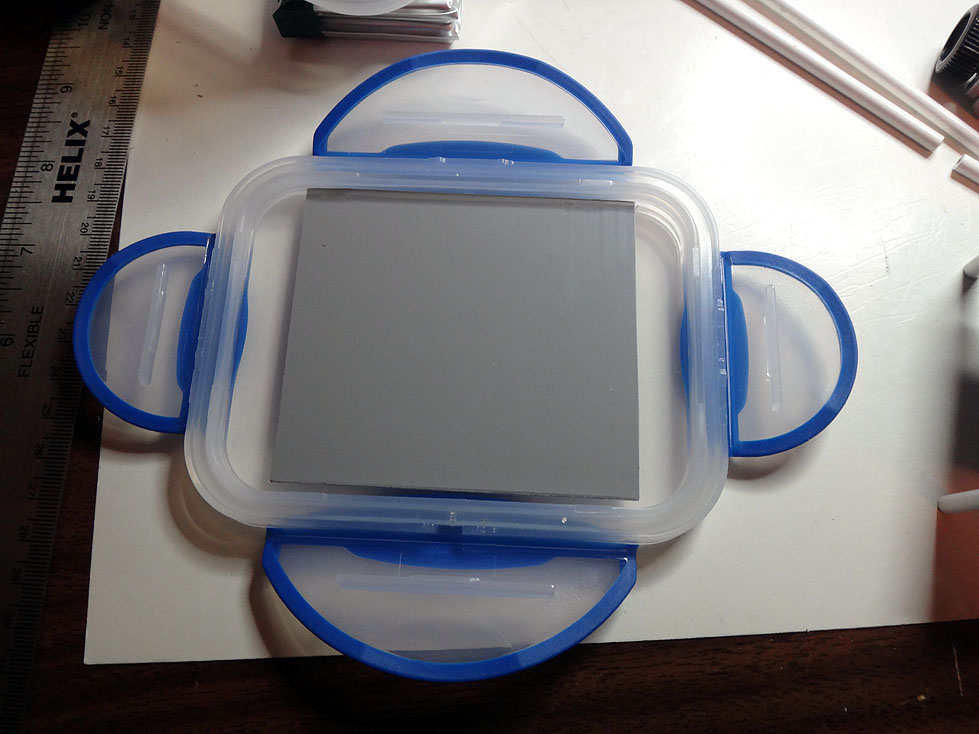
Now with the board glued in place I can easily use plastic cement to mount the standoffs for the boards.
First board mounted, the LiPo charger.
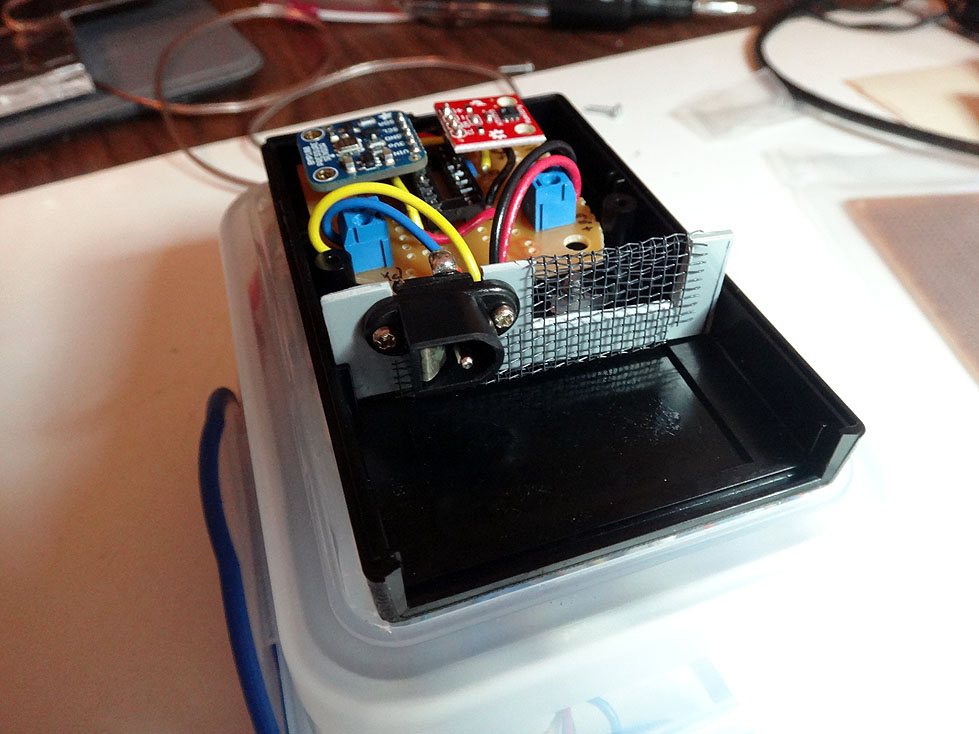
Side view.
I decided to mount the sensors in a separate plastic instrument case that I had purchased at HSC Supply in Santa Clara some time ago on a trip to Sunnyvale, CA. The purpose was to keep the main case waterproof and have this extra portion open to the environment for monitoring temperature and humidity. Once mounted, the opening would be on the bottom so that any rain would be less likely to get inside. I also sealed the port the wires run through with hot glue.
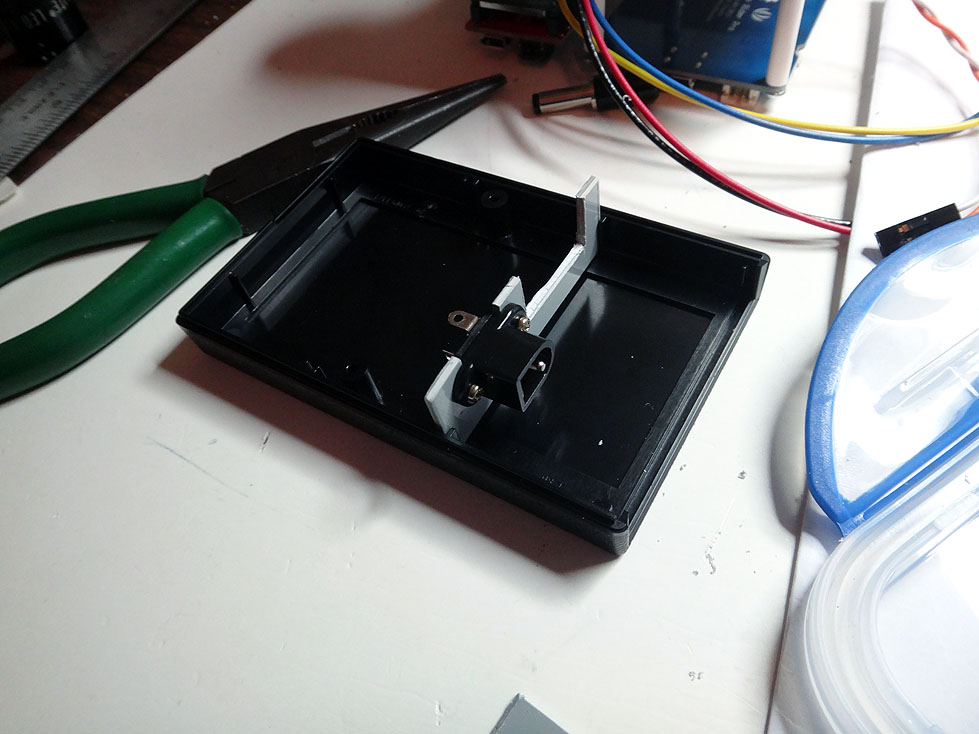
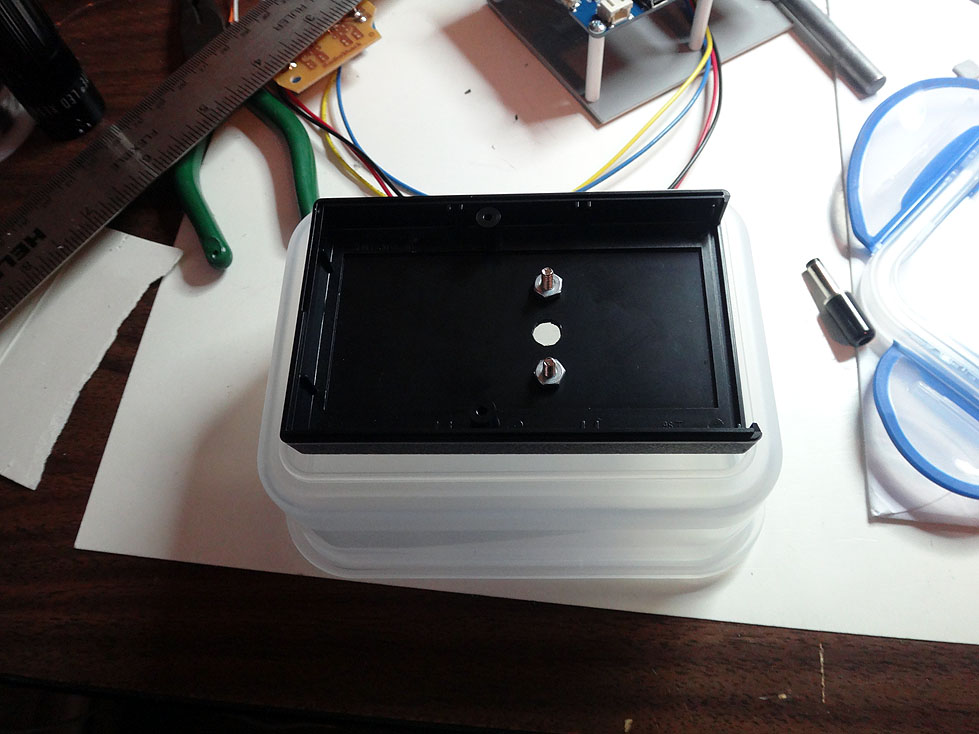
Using screws to mount the sensor case because I didn’t think glue would hold.
All the boards mounted to the ABS base in the case.
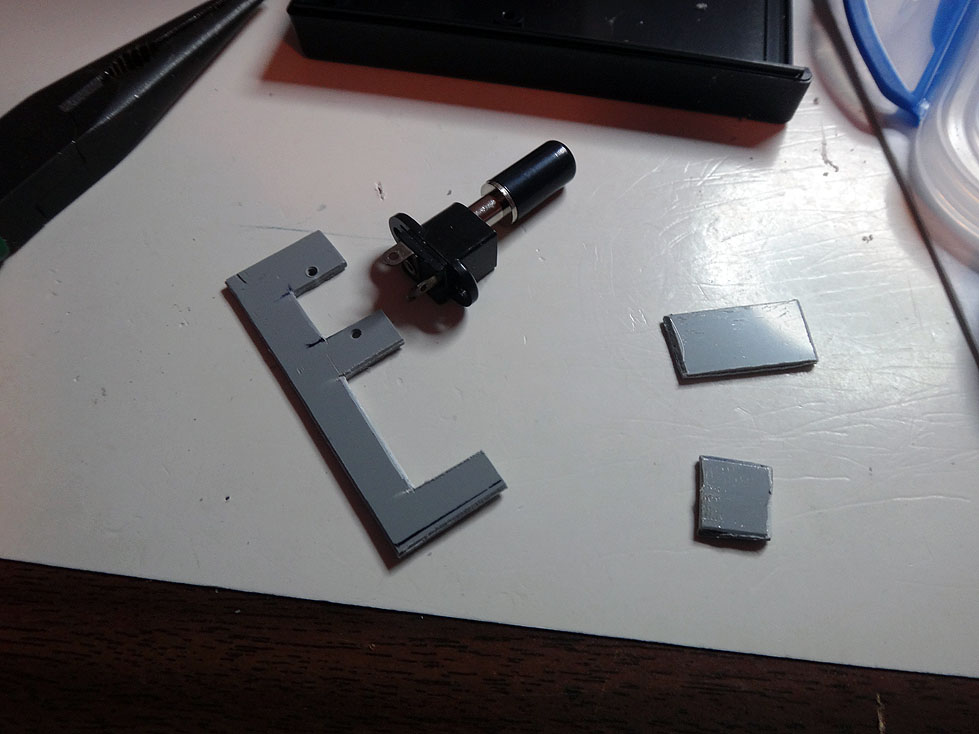
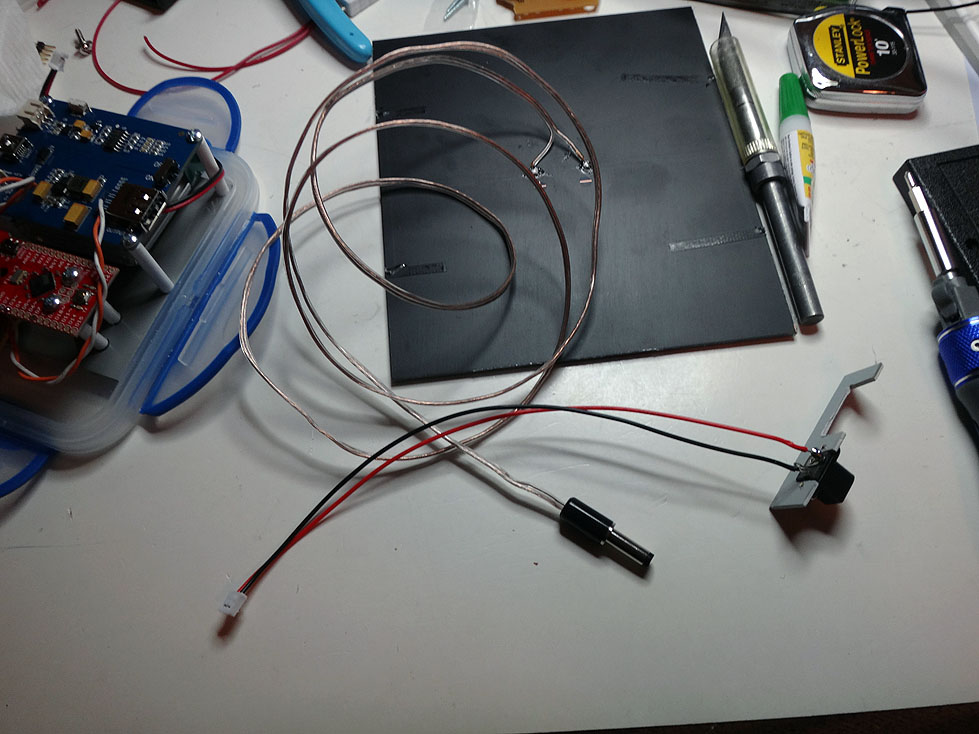
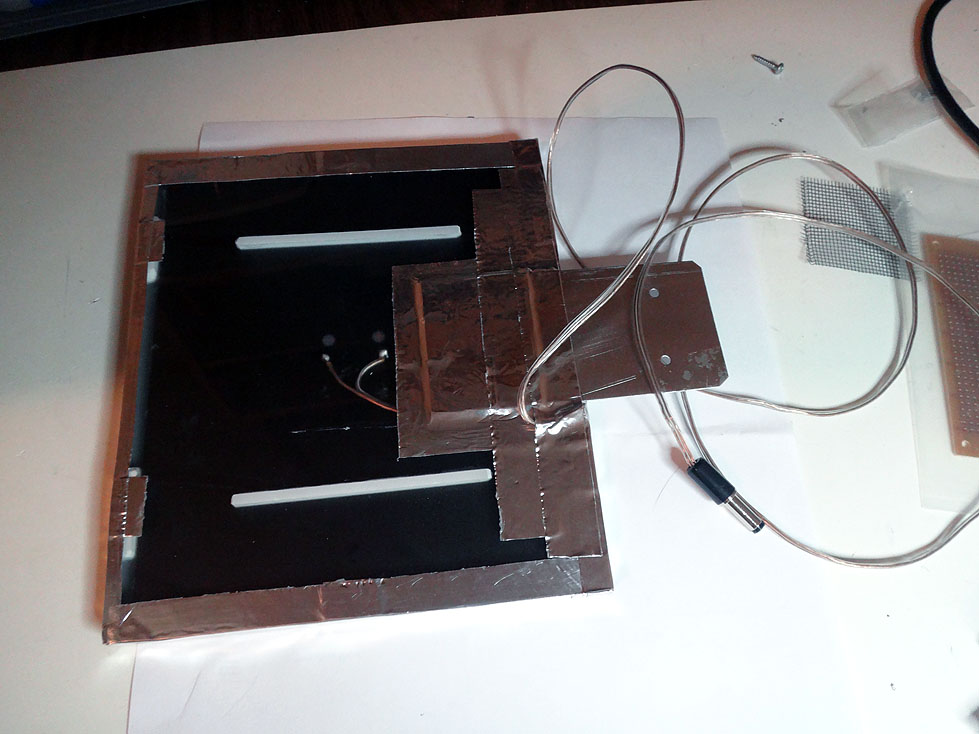
Starting to work on the solar panel. The wires are attached. I am using a jack so that it will be easy to remove the panel. The jack mounts in the bottom of the sensor case.
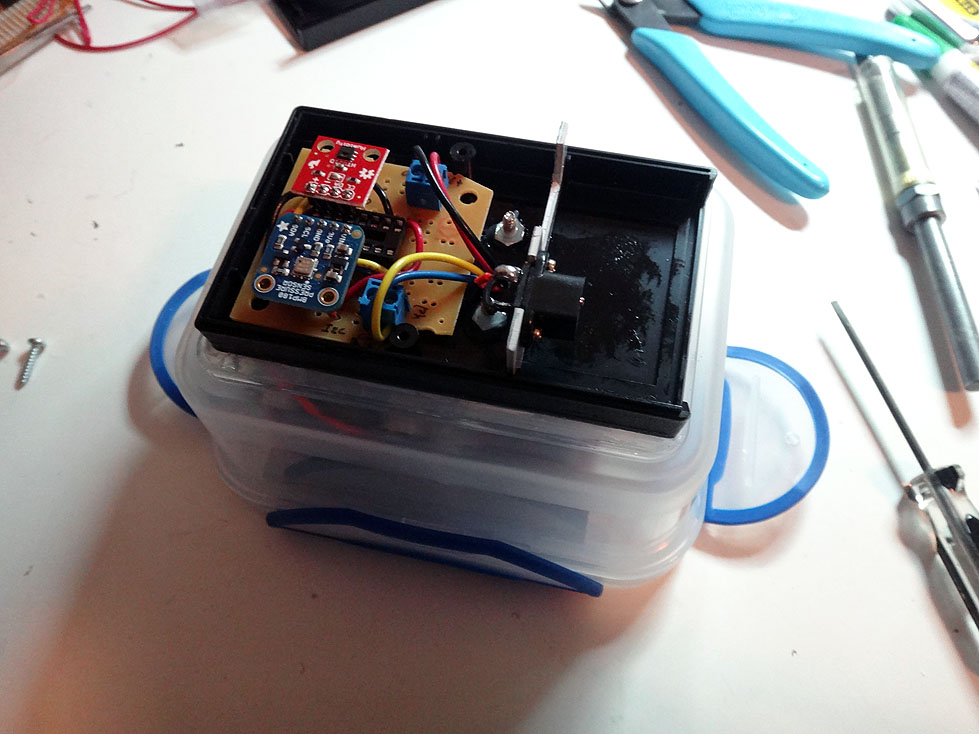
All the wires attached with the final assembly of the sensor case.
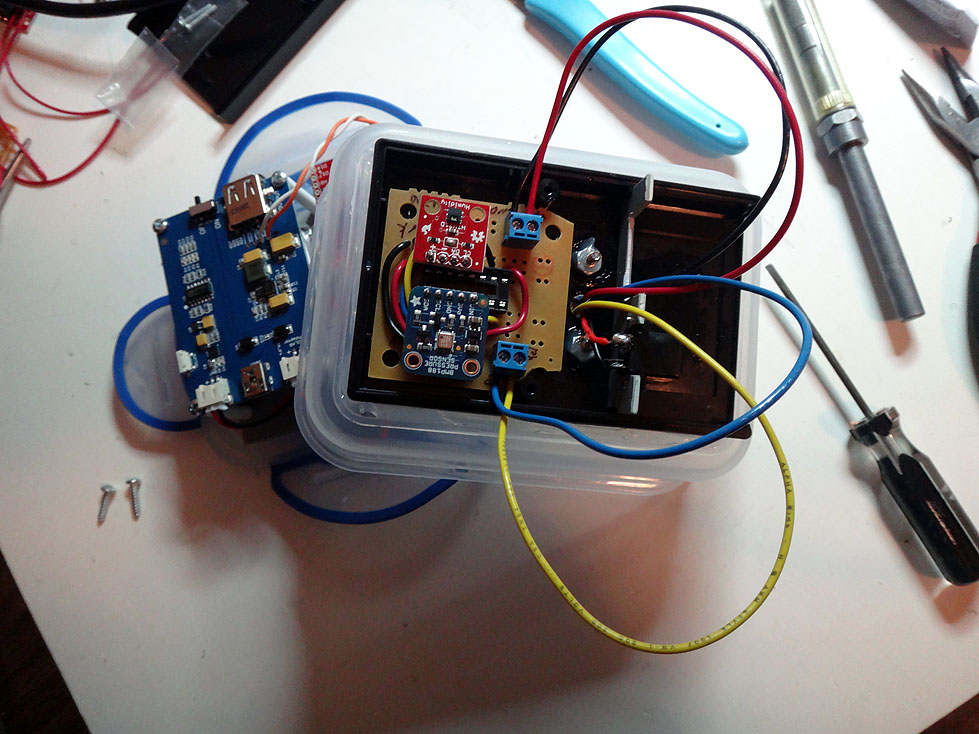
All ready with the sensors.
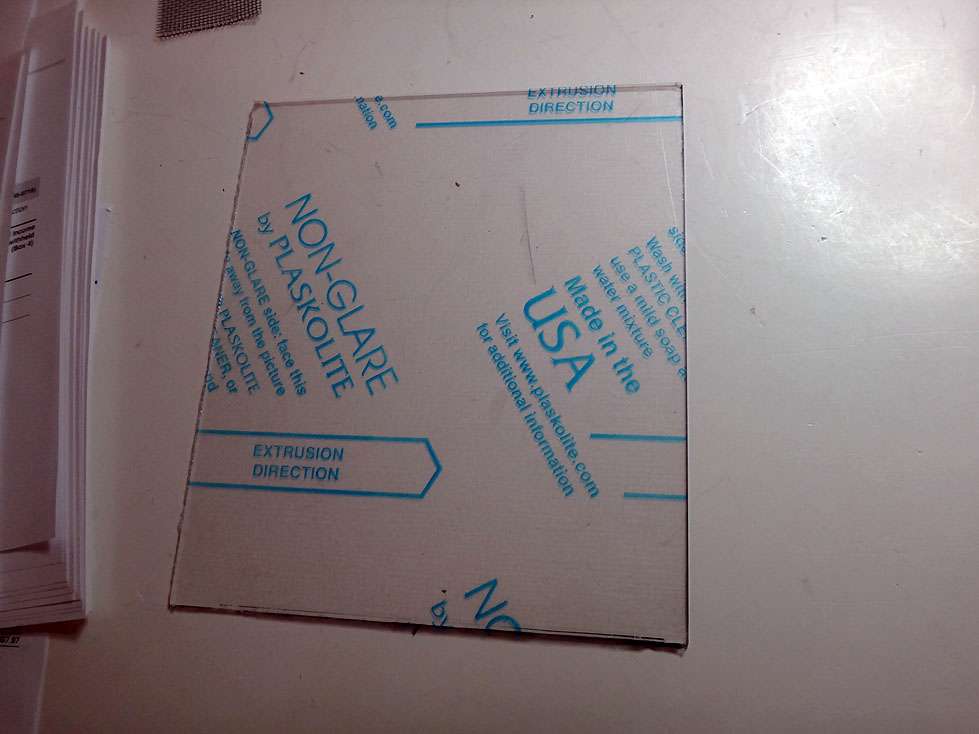
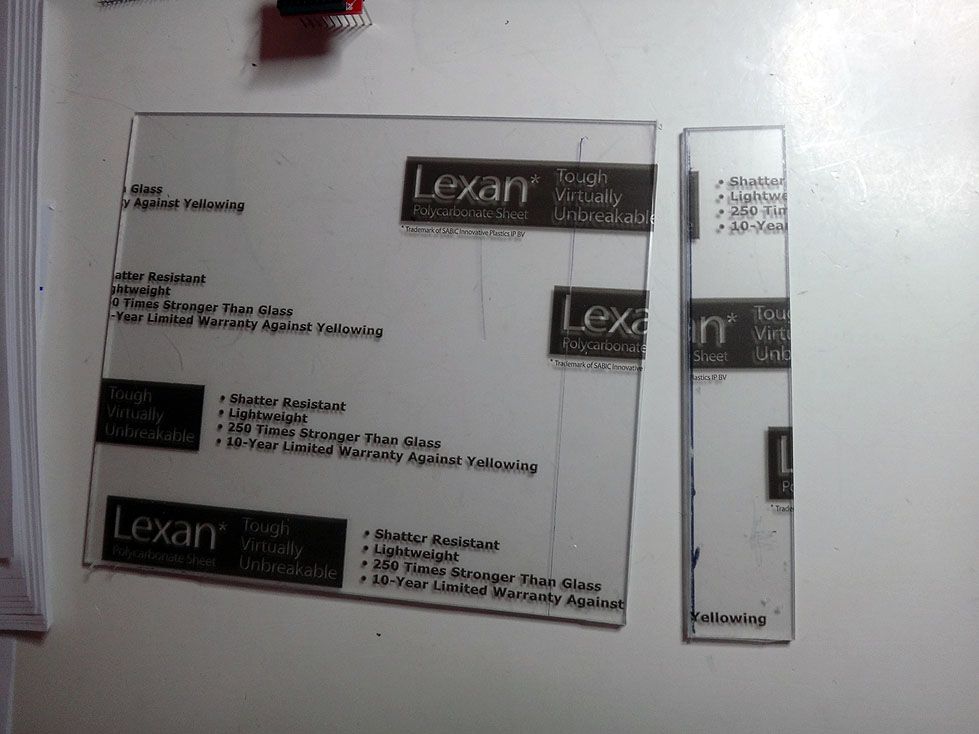
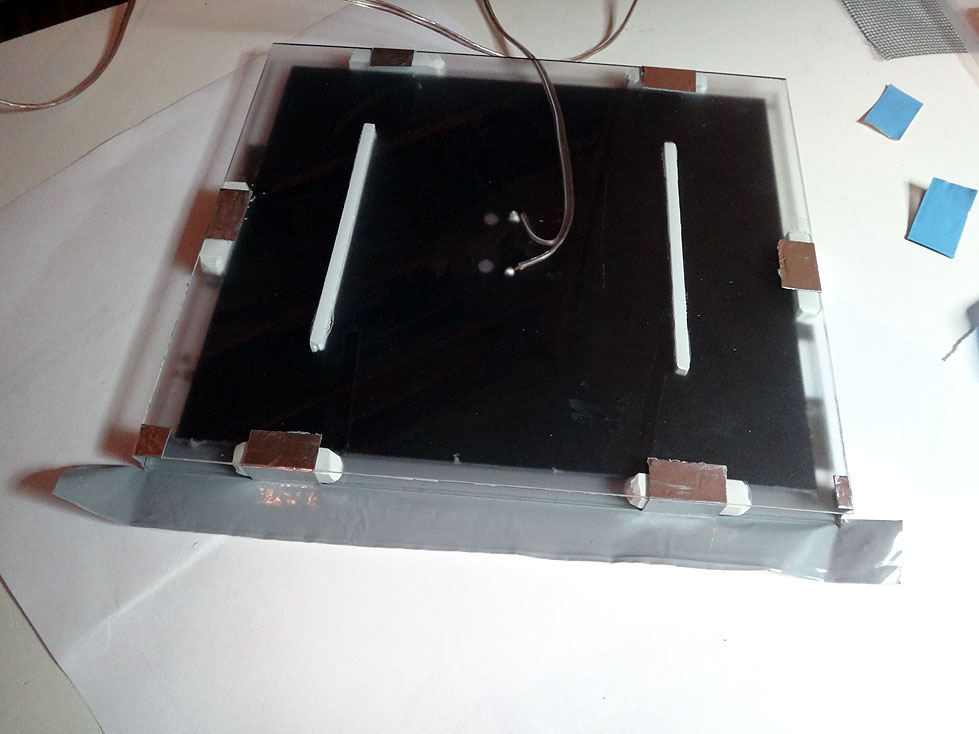
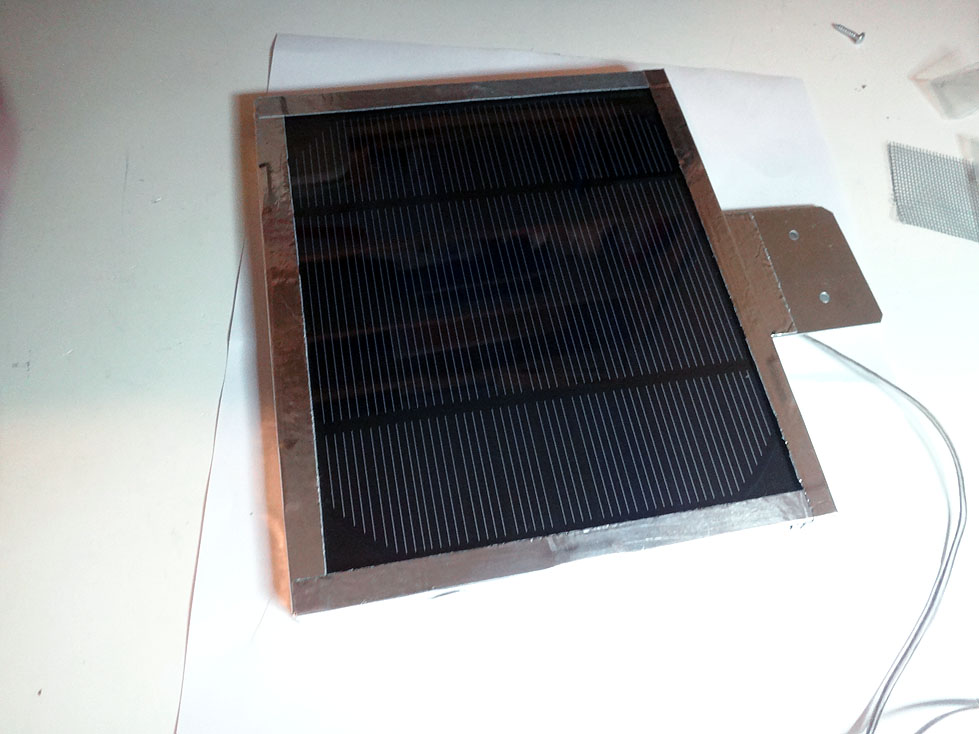
For the solar panel, I decided to use a sheet of Lexan I had to protect the outer surface. I just cut it to size, then used waterproof aluminum tape to seal the sides and back.
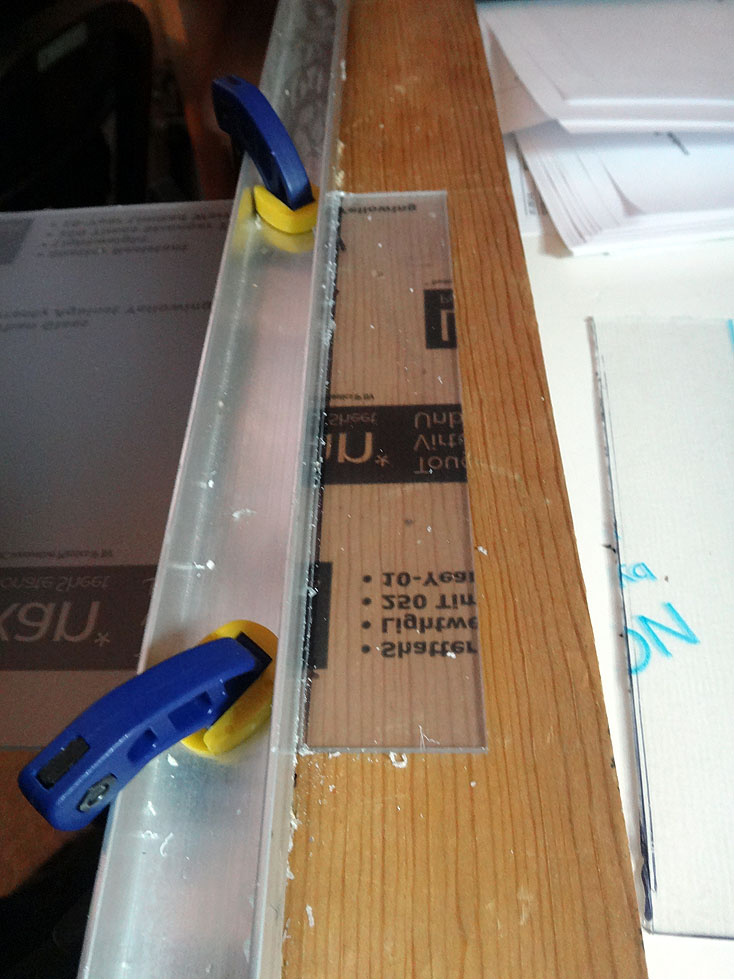
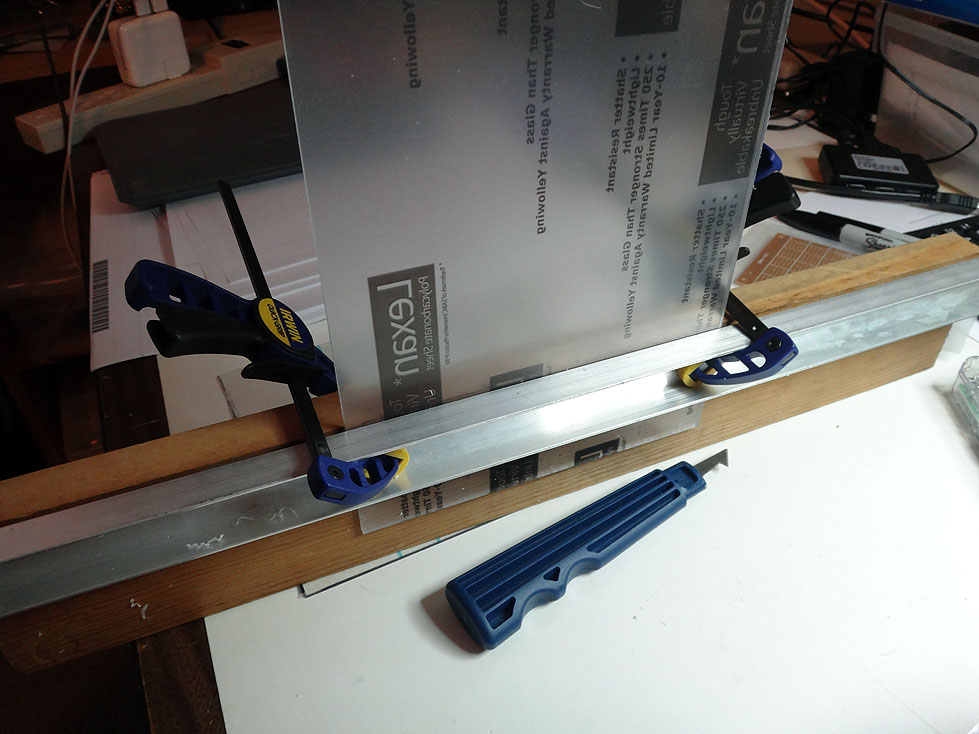
I clamped a piece of aluminum to a 1x4 board to make sure the cut was good. I used a Lexan cutting knife I had left over from another project. This works well.
Cut is finished and the protective film is still in places. It will get removed when the panel is ready to assemble.
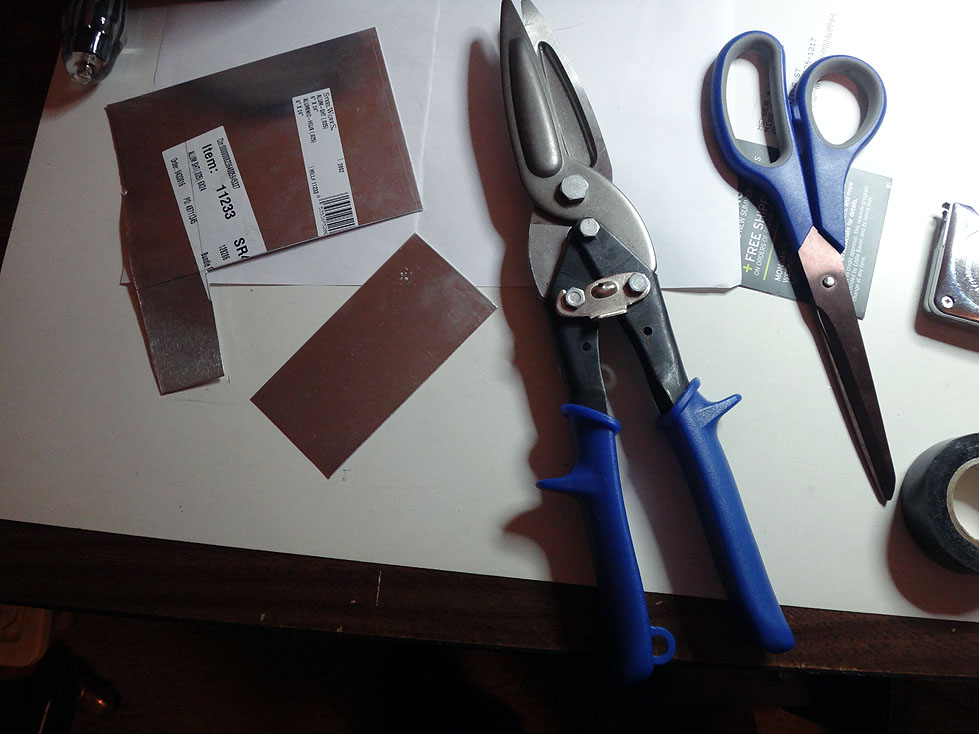
I like making small parts from metal, so I decided to make a mounting tab from a sheet of aluminum. I cut the piece to basic size, then rounded the corners and punched a couple of holes for the screws to mount the panel assembly.
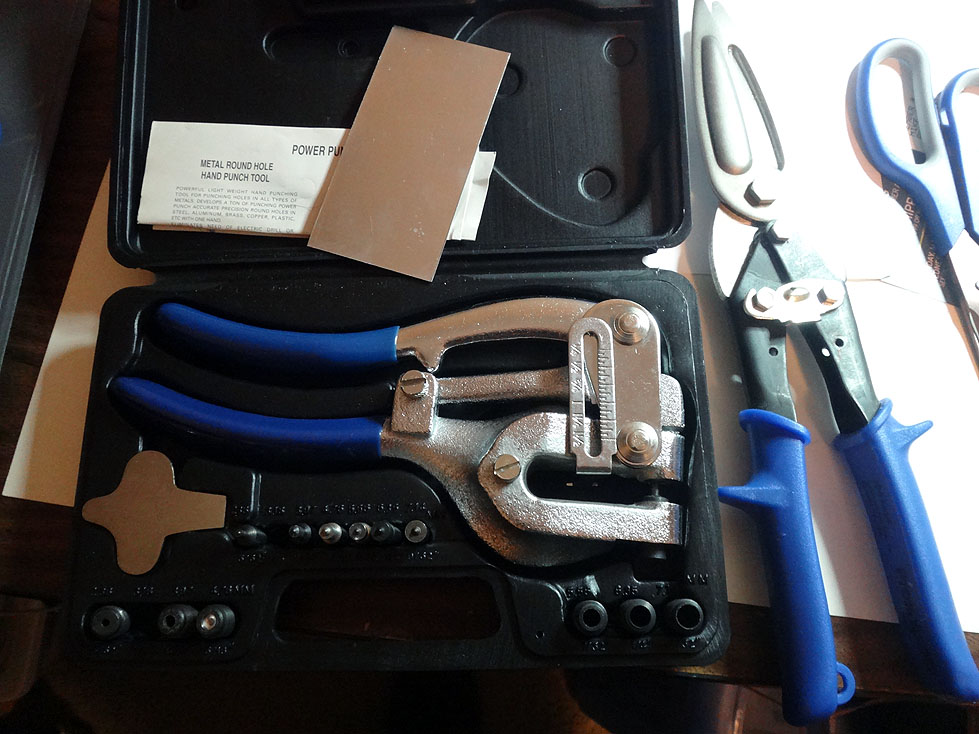
This metal punch kit comes in really handy. I have used it on a lot of projects with aluminum and mild steel.
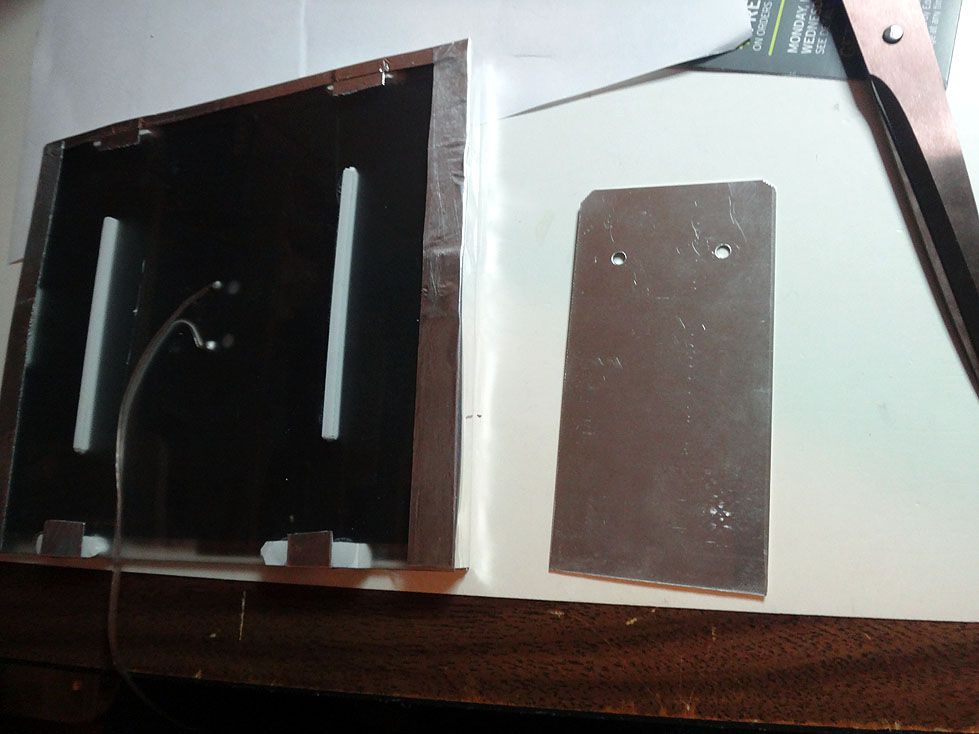
Now the panel is all sealed up and ready to use.
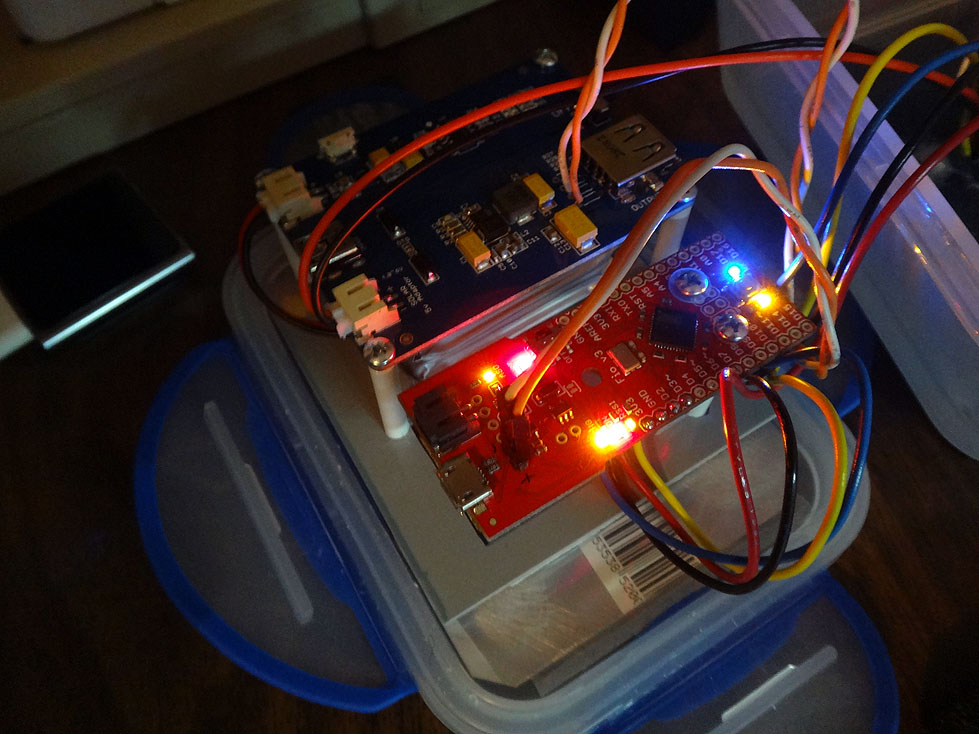
After the panel was complete, I added some screen to the sensor case to keep insects out. Then I connected everything up to make sure it worked. I put the solar panel in a window just to get some light to make sure it was charging some.
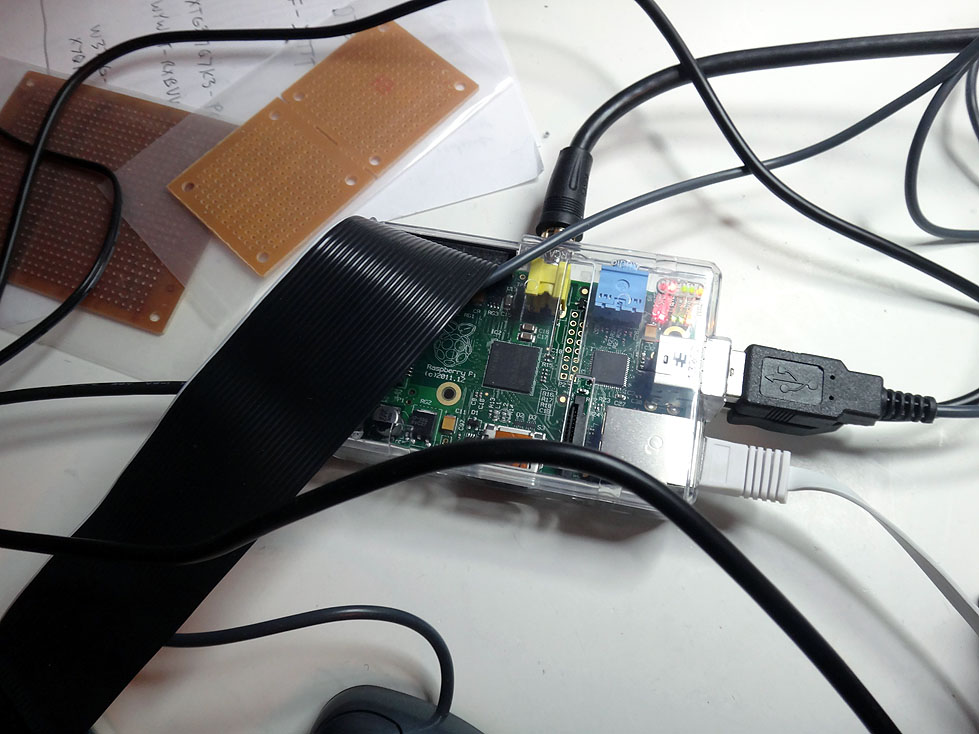
For the base station, the unit that is inside that receives the weather data, I decided on a Raspberry Pi. I bought an Adafruit T-Cobbler breakout kit and assembled it. Really cool idea for doing breadboard work with the Pi. Then I used it to hook up an XBee module.
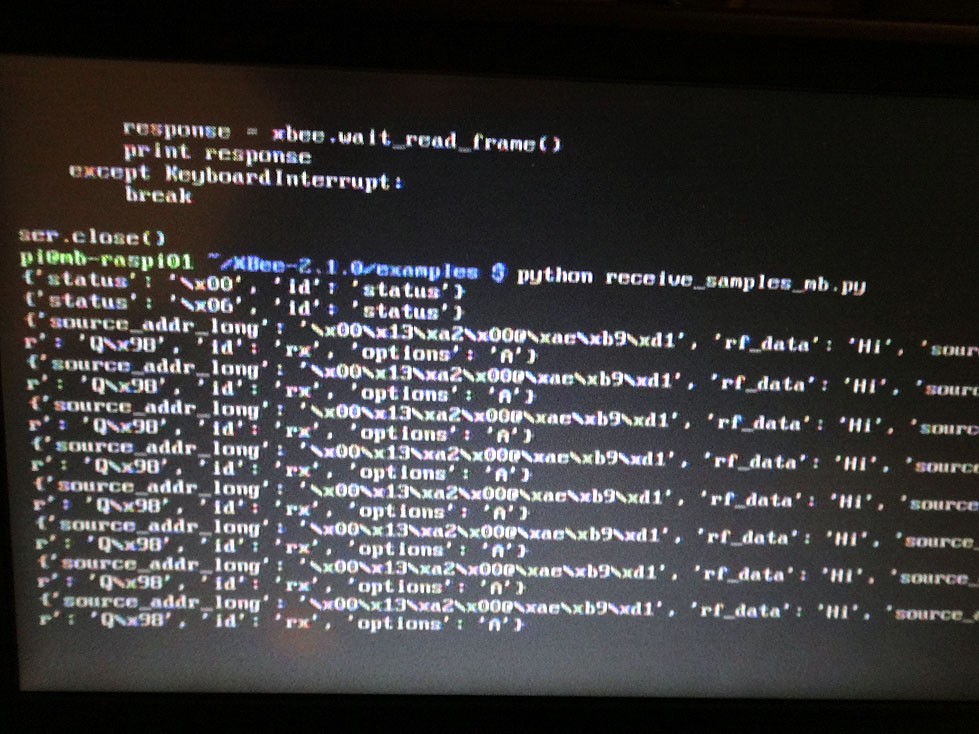
I loaded the XBee firmware and did the basic setup of the module using a USB XBee breakout from Sparkfun with my Sony laptop running Windows.
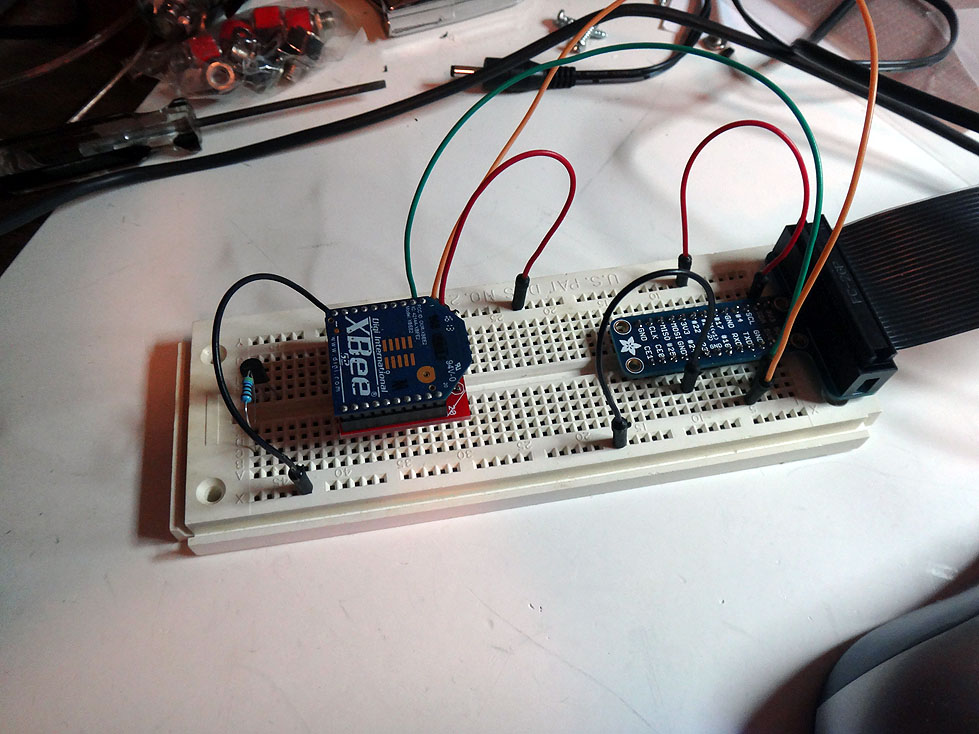
After hooking everything up I was able to get some traffic going between them fairly easy. Next is getting something worked out with a format for sending the sensor data. My plan is to have the FIO sleep for some period, then wake and send data to the base station XBee. The data will include the sensor info and battery volts. I hooked the battery to an analog in pin so that I can measure the charge and get some idea of how the solar panel is working.
All the data will be put into a database on the Raspberry Pi and queried from a web browser. This allows access from a phone or tablet. I was also thinking of making a display for the base station that shows the current readings.